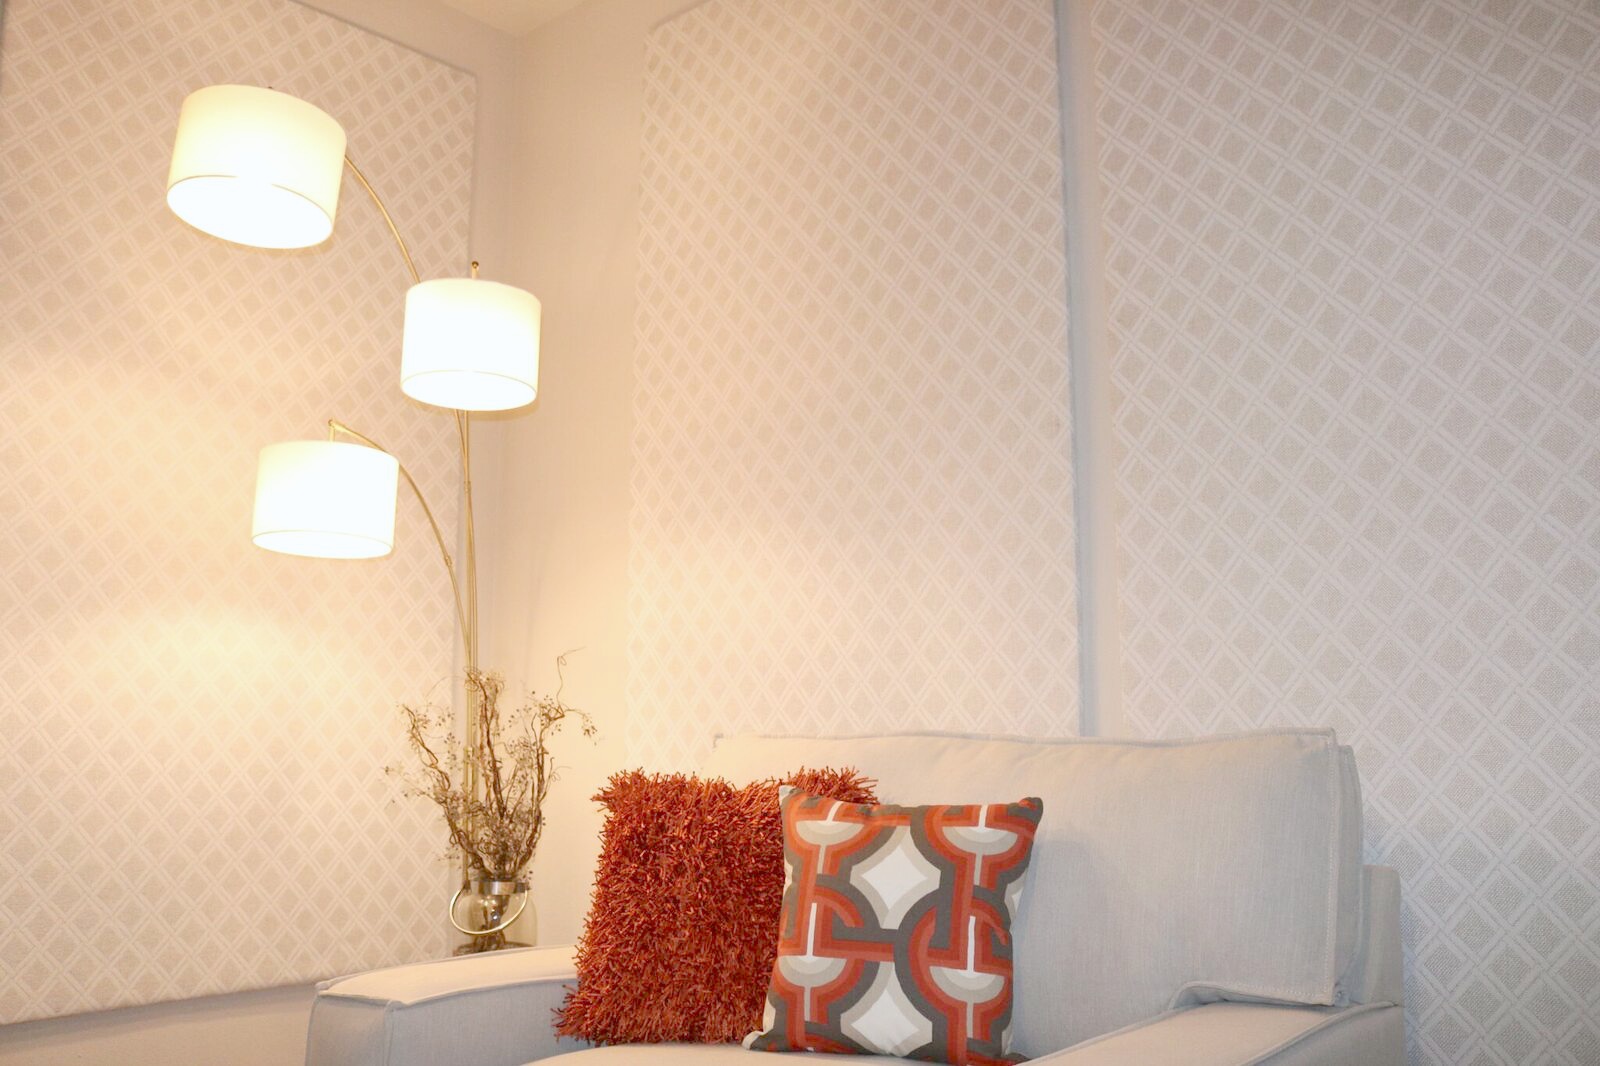
Wanting to fill up some empty wall space in a creative, simplistic way? We have an answer for ya!
As featured in our Hemlock Grove Phase 2 post, we wanted to share how to create a simple way to utilize wall space. These boards are fun, simple and inexpensive to create to make your walls at home scream to be noticed! There is only a few supplies you need, and you can make them to fit your own personal style and home! We want to encourage everyone to be creative and really make these panels fun, colorful, simple, or whatever you may want them to be!
Here are some steps on how we made our panels!
Step 1:
Pick your fabric!
You will need to pick your favorite fabric to use on these boards. You will need about 3 yards of fabric for each board.
Step 2:
Purchase Foam board!
These boards can be made into an assortment of sizes! For this project we used boards that we purchased from Lowes, and you can find them in our link here!
Step 3:
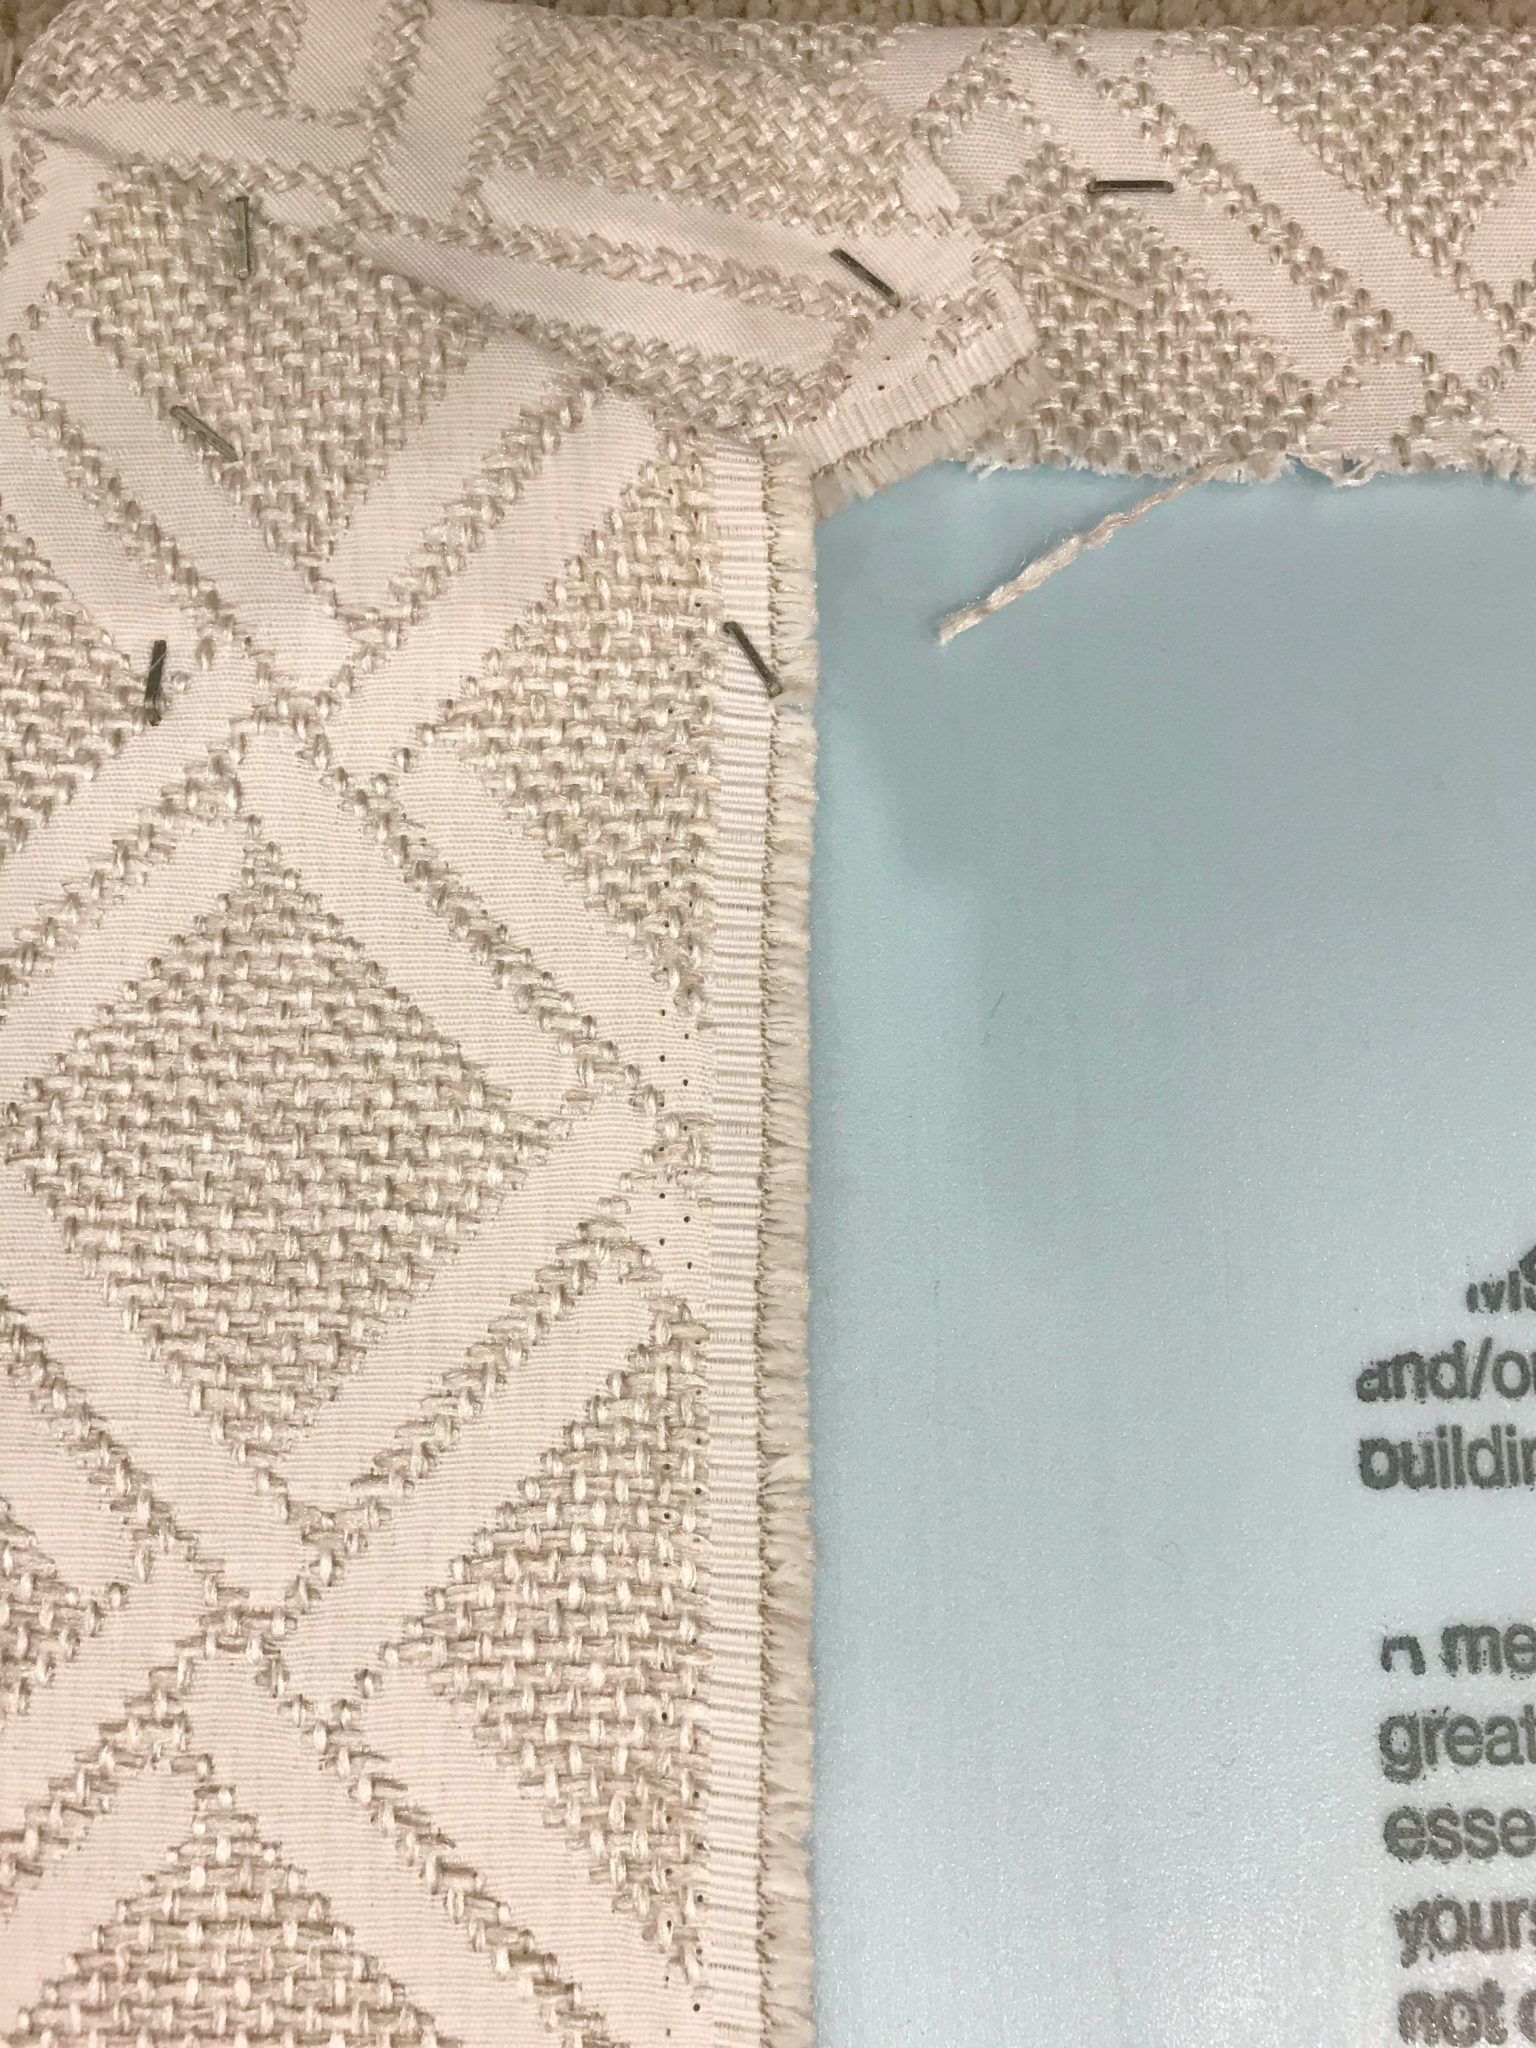
Wrap the boards in your fabric of choice, and secure the fabric to the back boards (we used a staple gun, and it was SUPER easy to use). Make sure to pull the fabric as tight as possible to make sure there are no gaps or rolls in the fabric.
Step 4:
Hanging!
We hung them to the wall using a finished nail and hammered them into place on the wall. After nailed to the wall you can place the fabric back over the nail head so that it has a seamless finish.
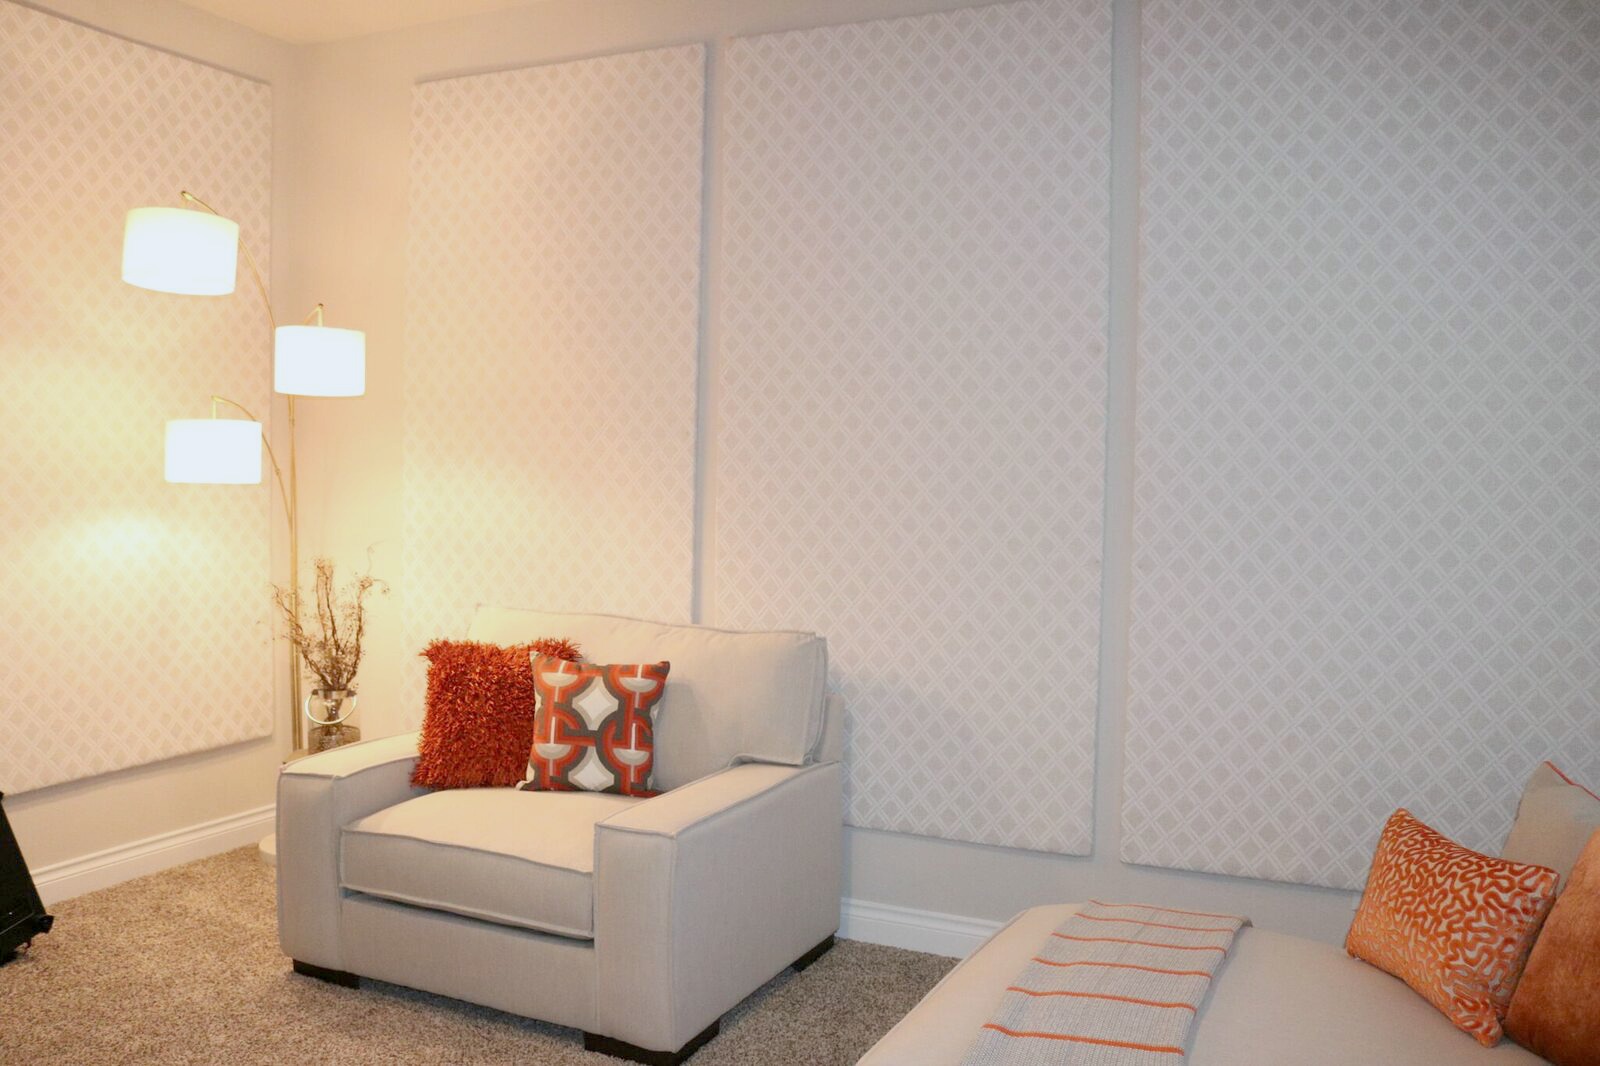
Check out these pictures for some examples of some boards we did in our project!
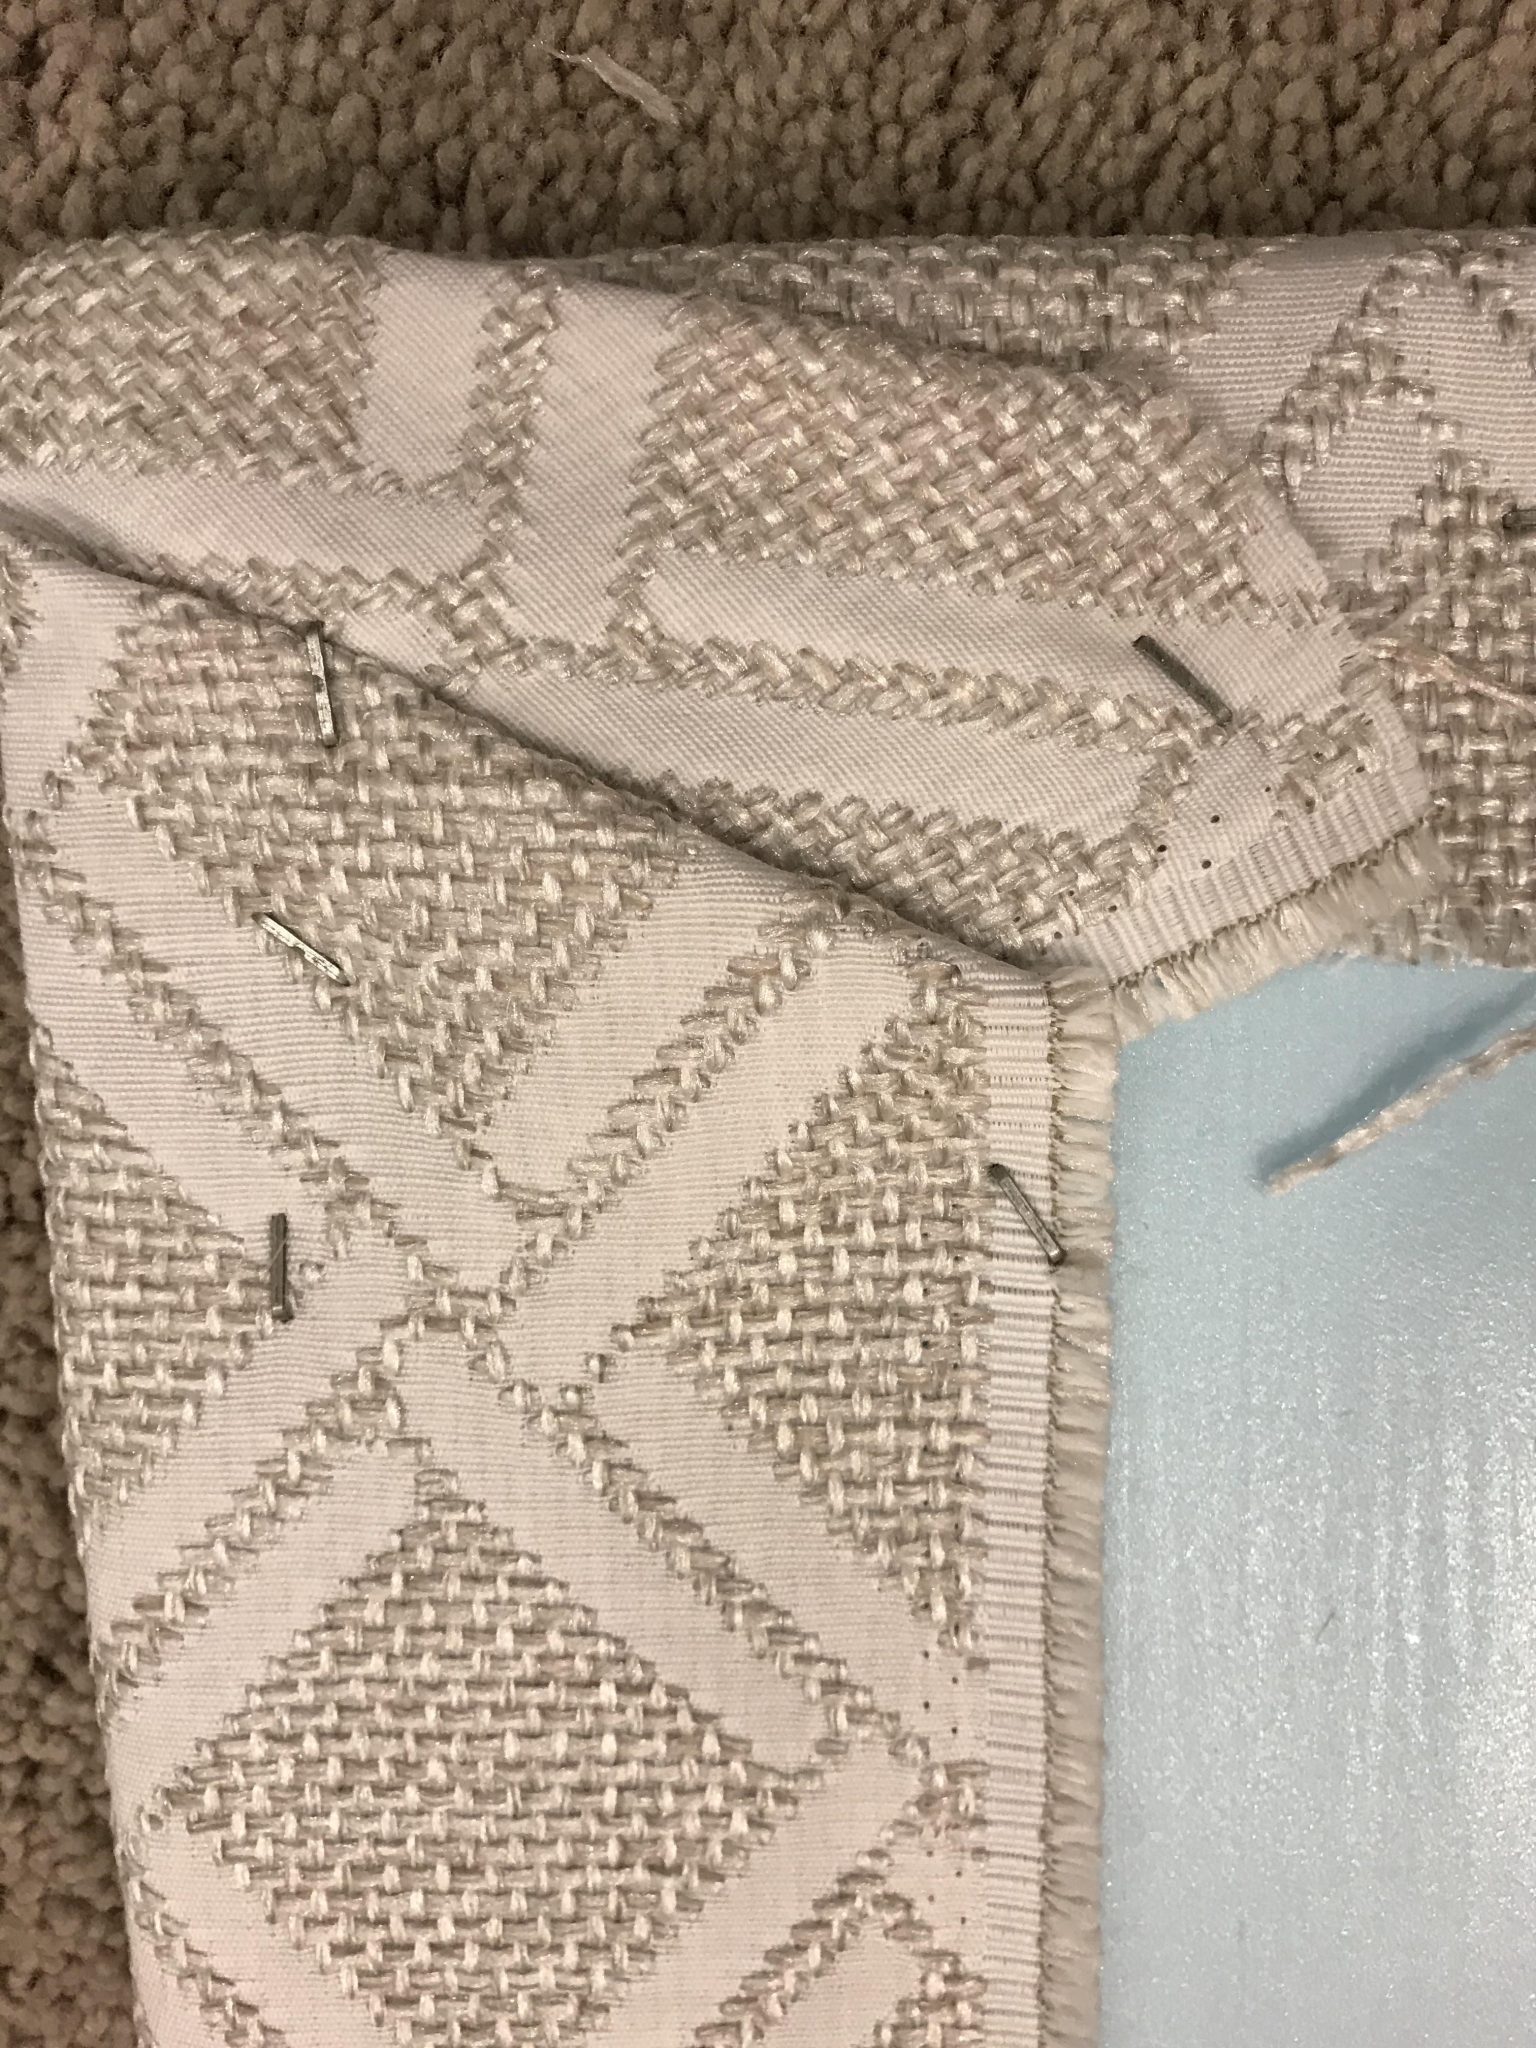
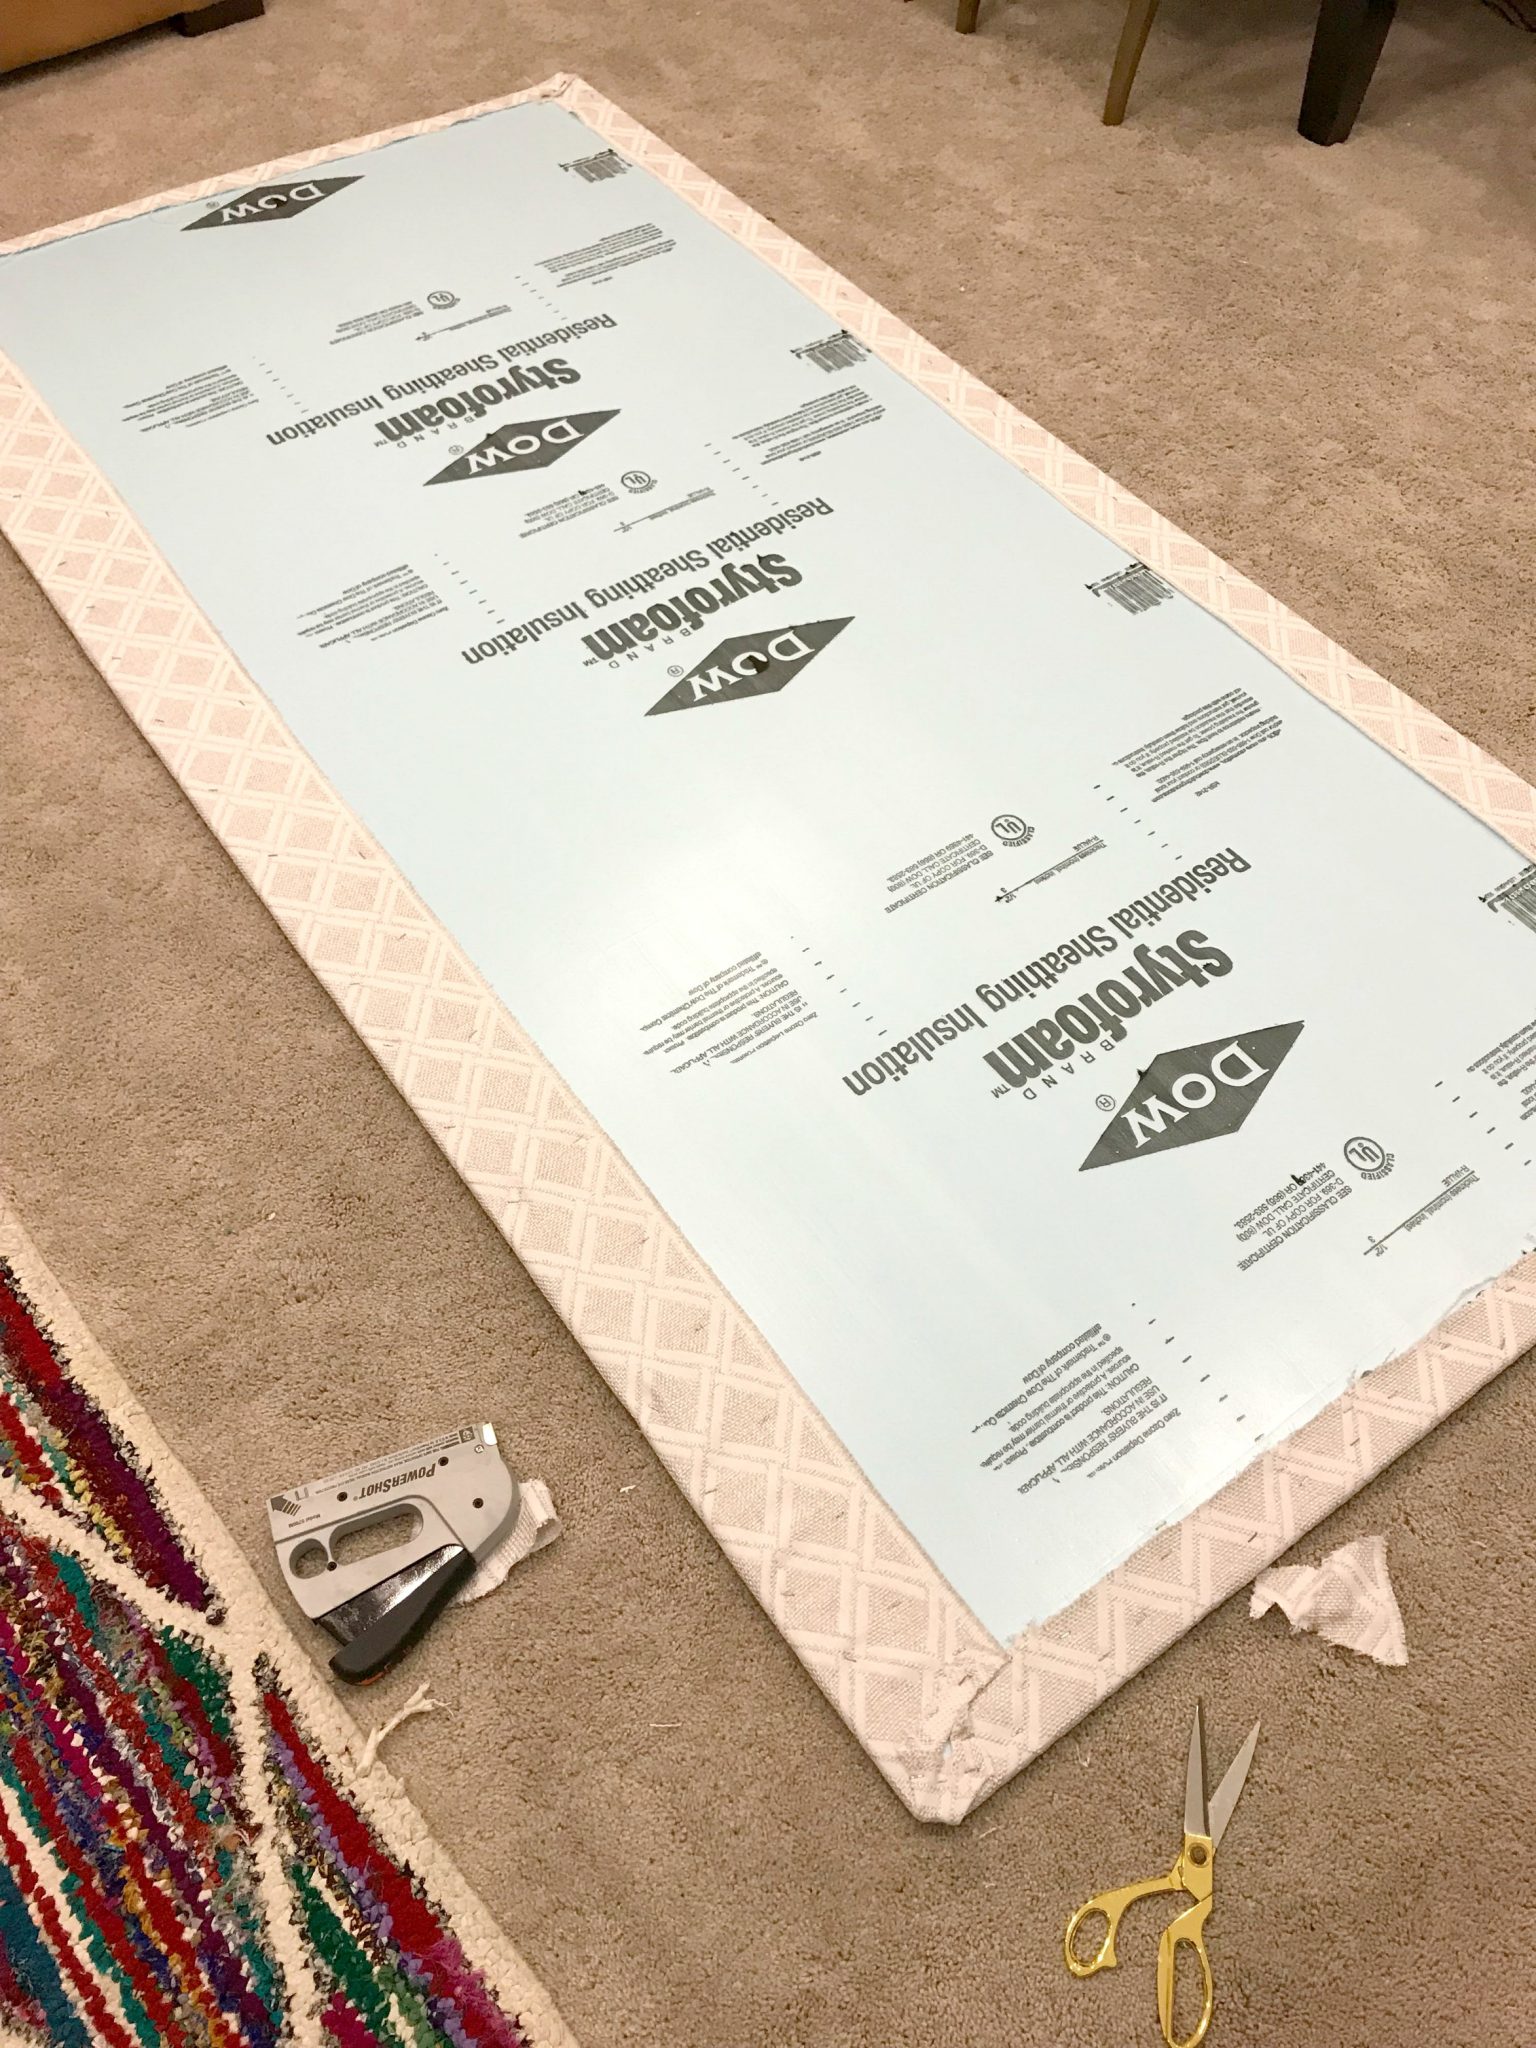
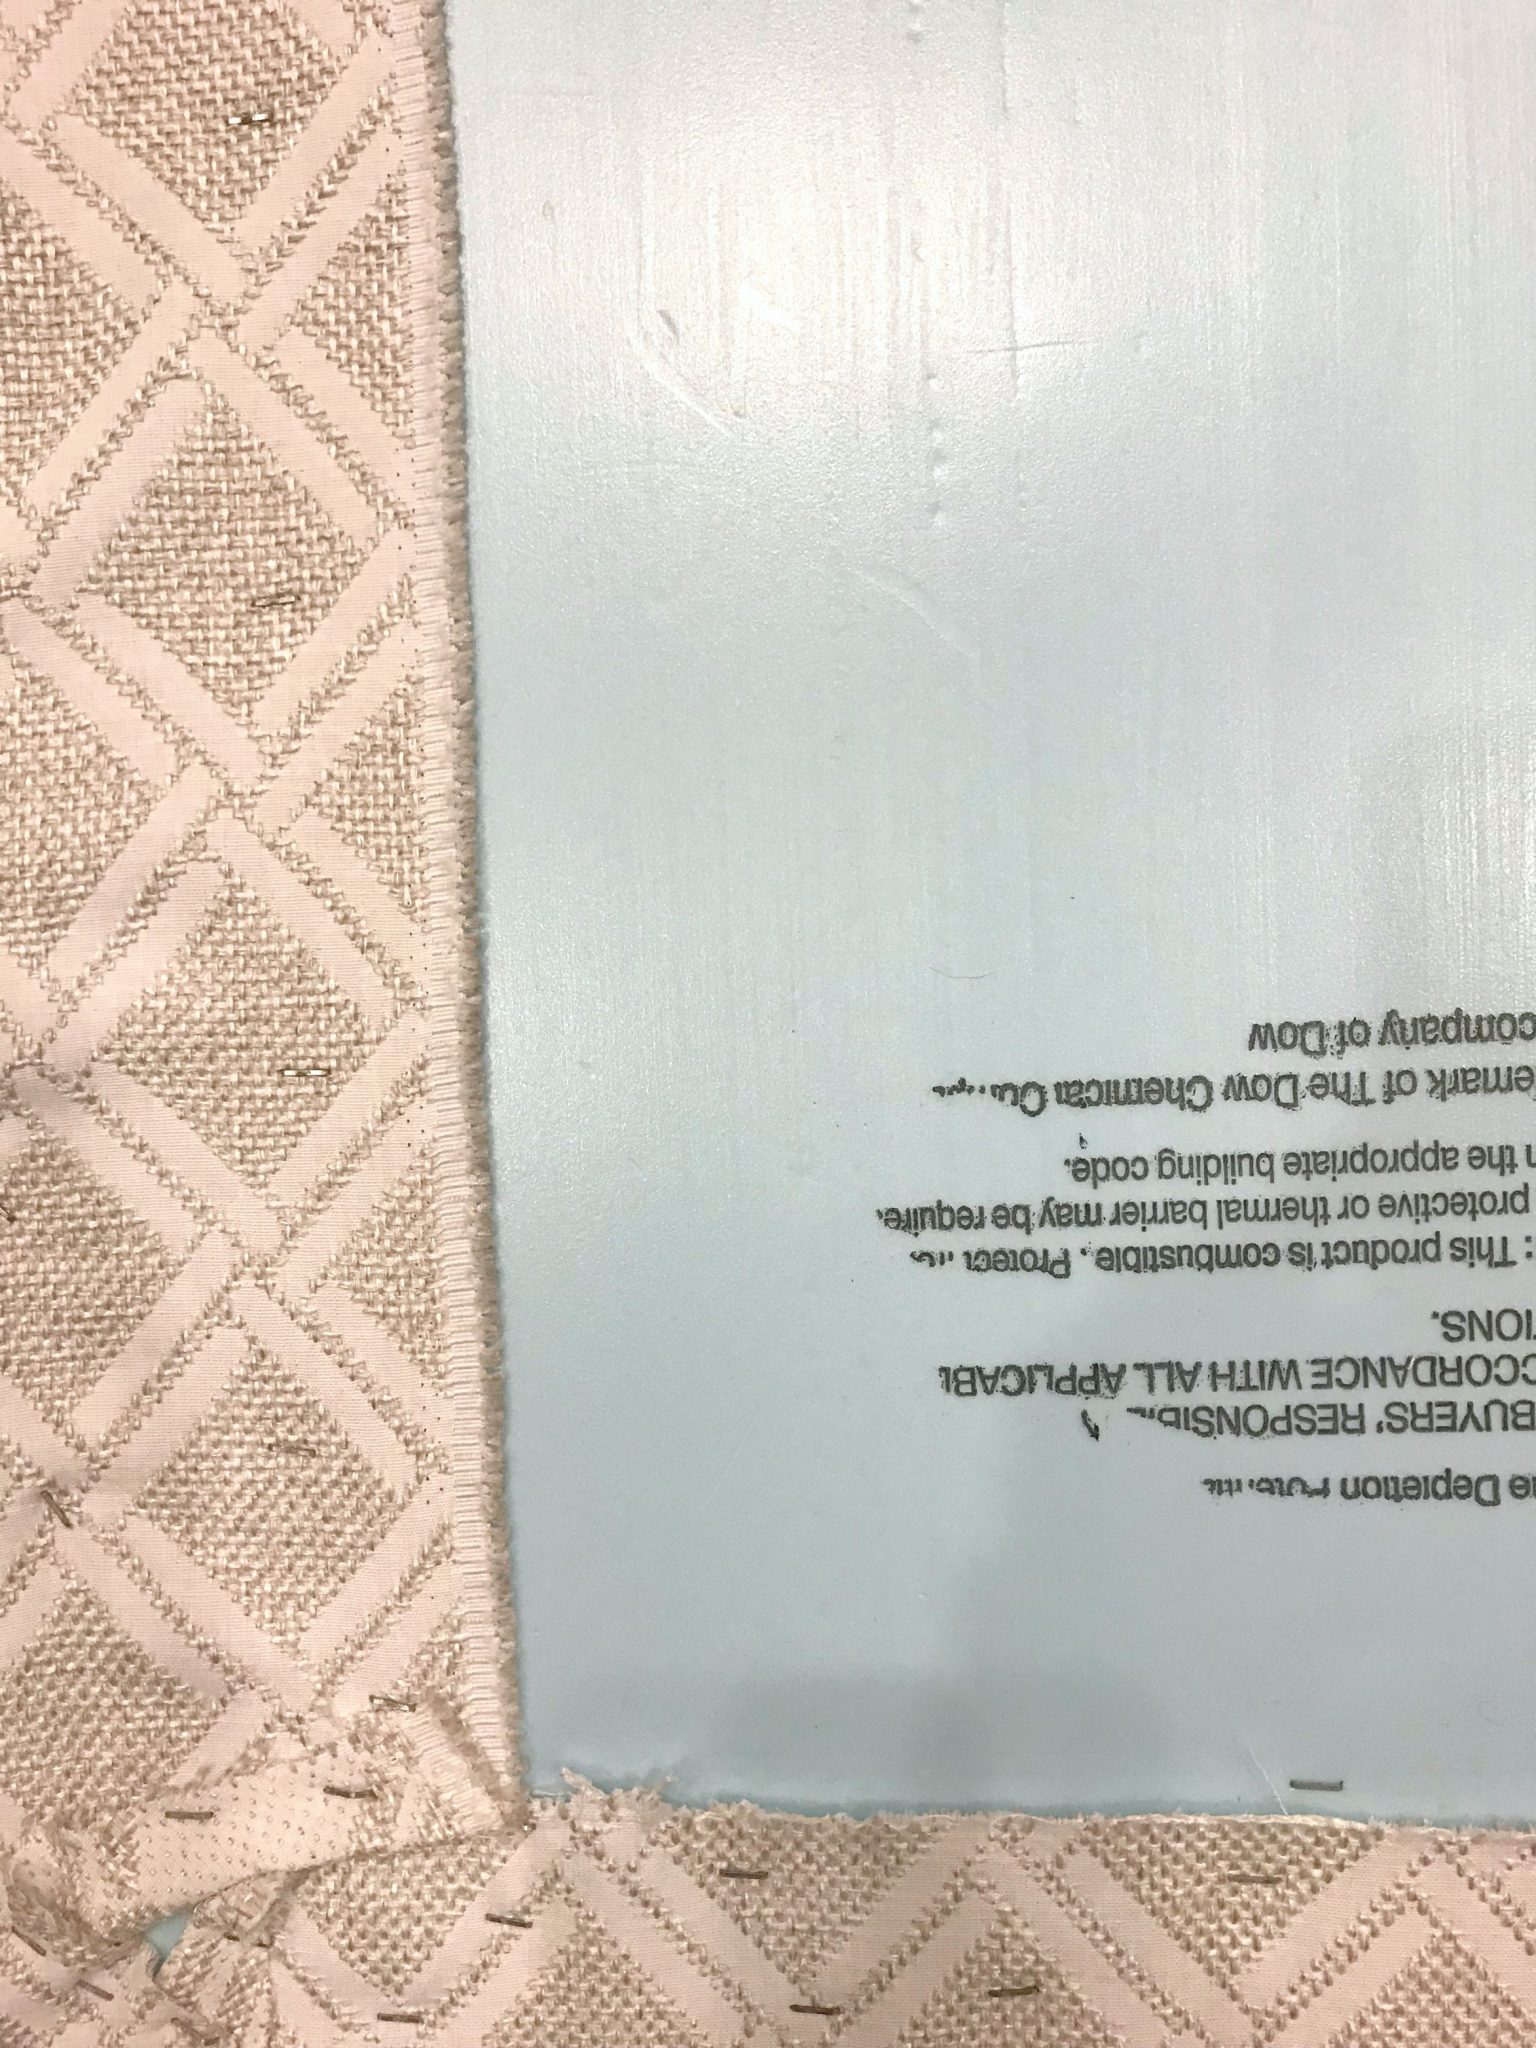
Here is how they looked placed in this movie room at Hemlock Grove!
We hope you enjoy your panel boards in your space as much as we love them in our home! We would love to hear feed back and pictures about how yours turn out! Be sure to post them on Instagram, and tag us so we can see how y’all’s turn out!

