I am slowly but surely making changes to the different areas of our home. We have been here for a little over a year and a half and I have finally started on our upstairs guest suite. There is nothing special about this space. I knew I didn’t want to spend tons of money in upgrades but I also wanted to make it a bit more masculine and welcoming. The builder grade bathroom was nothing impressive, to say the least.

What did I tell you? Very bland. This is also after I had the room painted. It was cold and bright white which is the exact opposite of what I want for this suite. I really dislike the TP and towel racks. Can we also discuss this mirror? I do not understand how anyone thinks it is okay to hang a mirror like this? The sizing is wrong and well it’s not very attractive.
When I decided to update this guest bathroom I knew the mirror had to be dealt with. I also didn’t want to spend too much money making that happen. I come across this same issue often in my clients’ homes as well. It’s a simple fix that gives the space a major upgrade but also is completely affordable. I recently used a new company to frame this mirror and I am completely amazed with the quality. Mirror Chic sent me their designer box that included all of their sample frames. Now I can take these samples directly to my clients and let them see the finish and the top notch quality of the frame. I did a sneak peak on my stories weeks ago when I received the samples. I am so excited I can finally show you the transformation.
I wanted to bring you a very honest review that was relatable and truly helpful. Something to keep in mind. I was able to frame this mirror 100% by myself.
What You Will Need

Step 1: measure and design
Mirror Chic has a simple form for you to complete that is easily understandable and thorough. This will guide you on how to measure you existing mirror and space before ordering your new frame. They have several designs to choose from which can make things difficult because they really do have so many great choices out. Check out their blog post here for tips and details!
Step 2: build the frame
Once your frame is delivered you will find all the necessary pieces (including clips if you currently have the large plastic kind) you will need to install your frame.
I planned to have a handyman come over to hang this but then decided to give it a shot so I could let you know if this was doable by someone with zero construction skills. I am so glad I did it myself; you definitely can too. Click here for instructions!
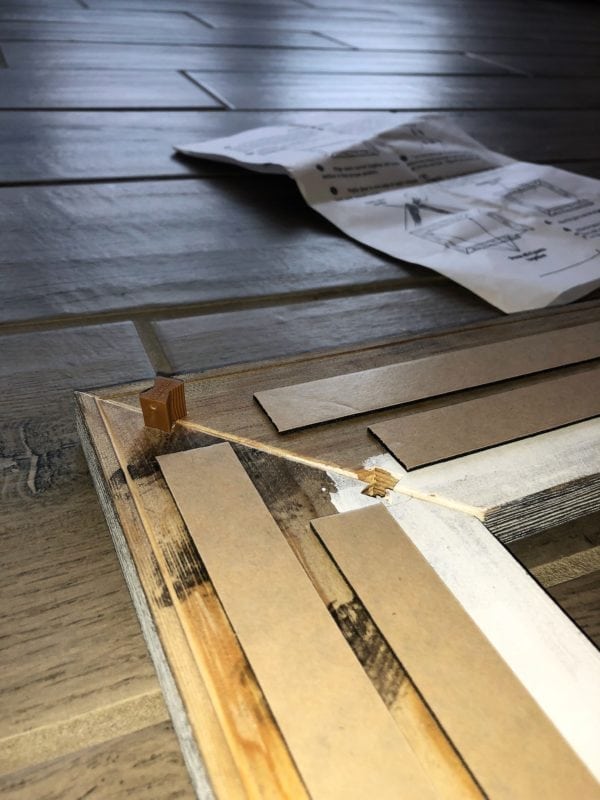
add the provided wood glue to the corners of each side
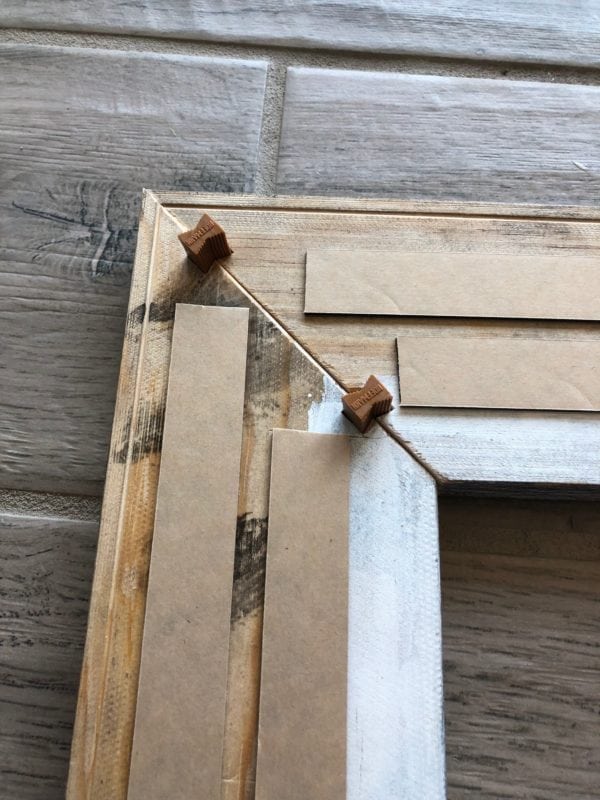
hammer these braces into each pre-cut side
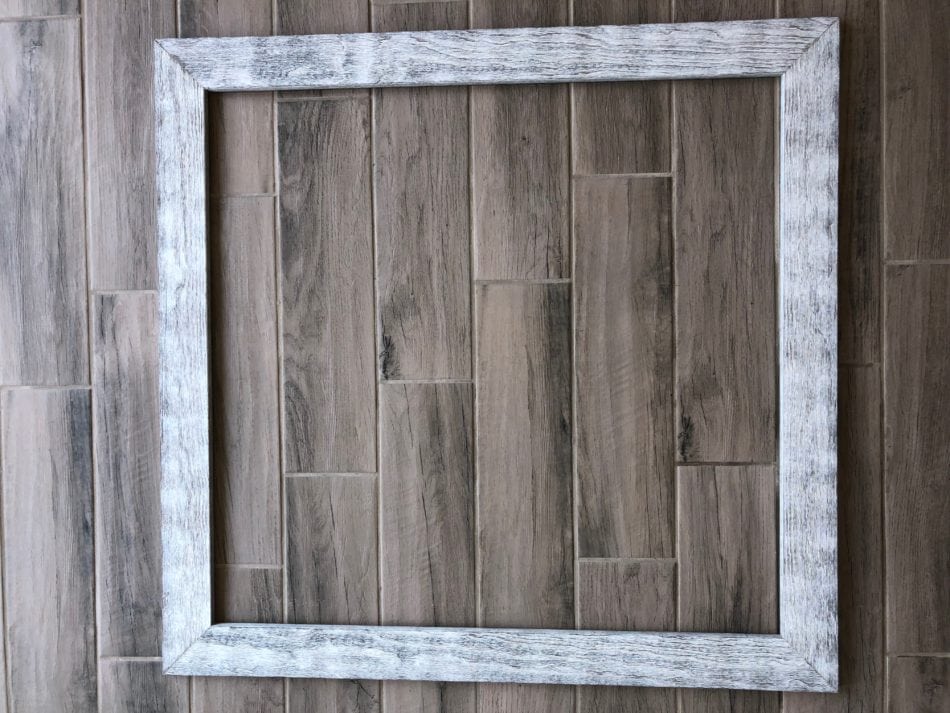
Let the frame dry for the recommended time frame
Step 3: prepare for hanging
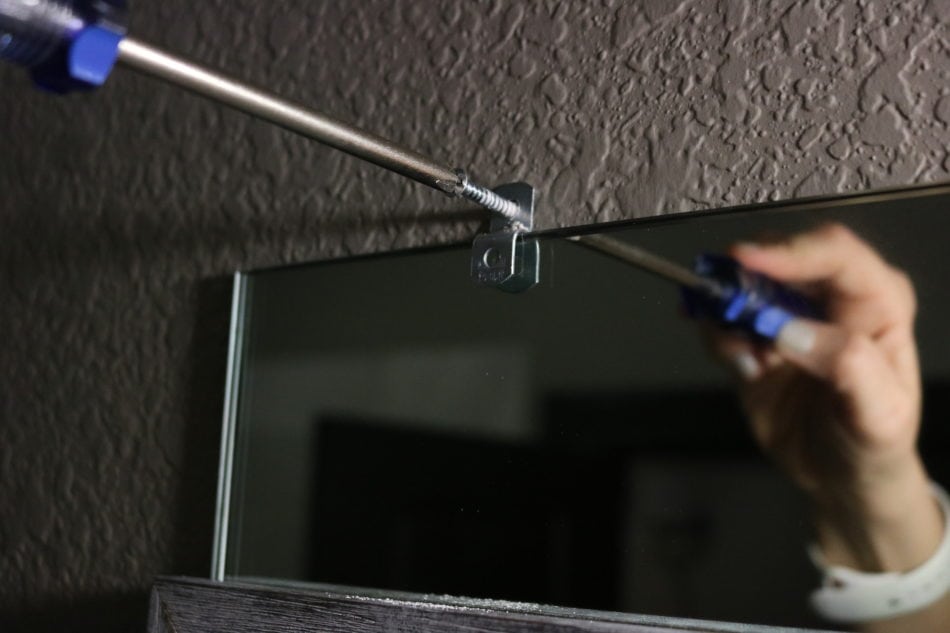
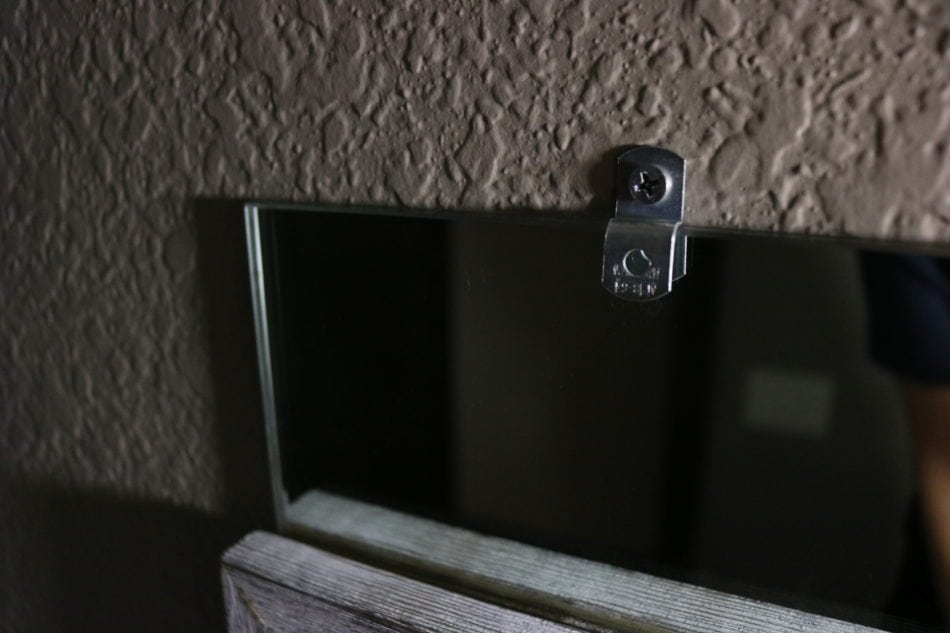
Replace any necessary clips with the ones provided and clean the mirror surface. I simply took one clip off at a time and screwed the new clip into the existing hole from the old clip (this allowed the mirror to stay supported). I probably should mention that I forgot to clean the surface before moving on to step four. Let me say the mirror is still attached and holding strong. I don’t suggest following my lead here.
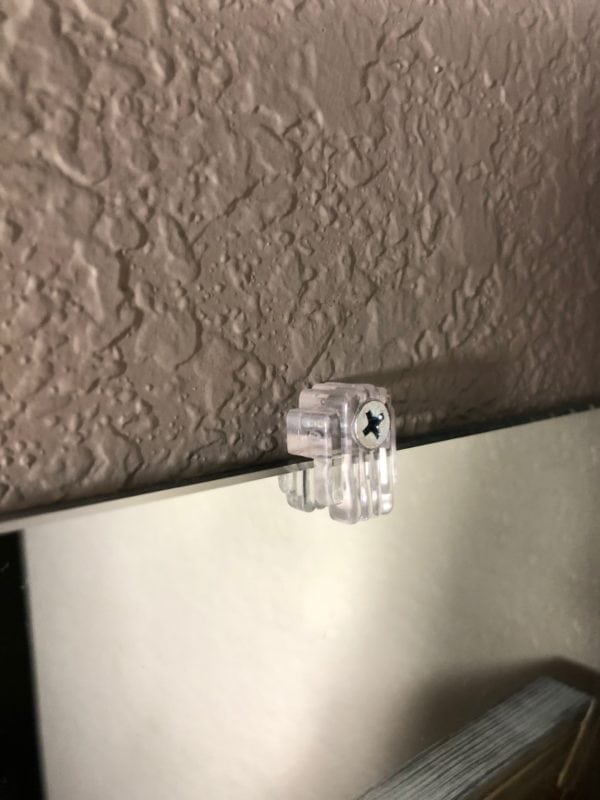

Step 4: attach the frame
Lean the mirror in place (before removing sticky strip backing) to verify the fit and placement.
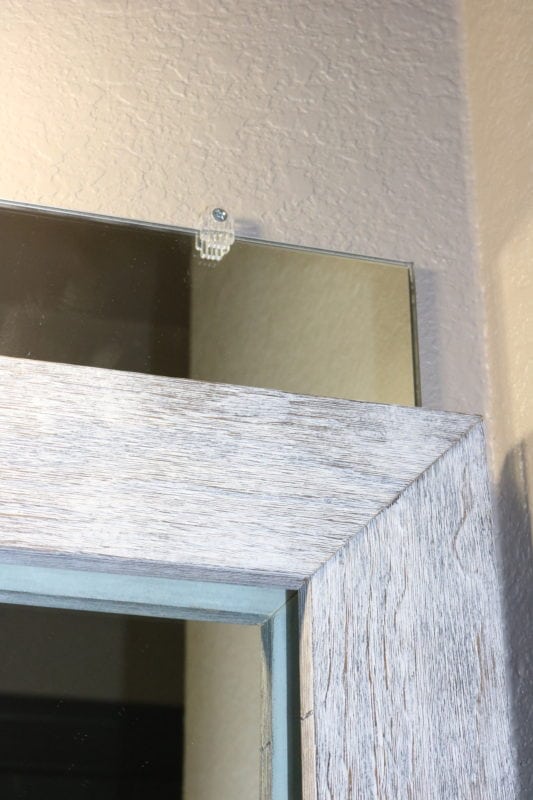
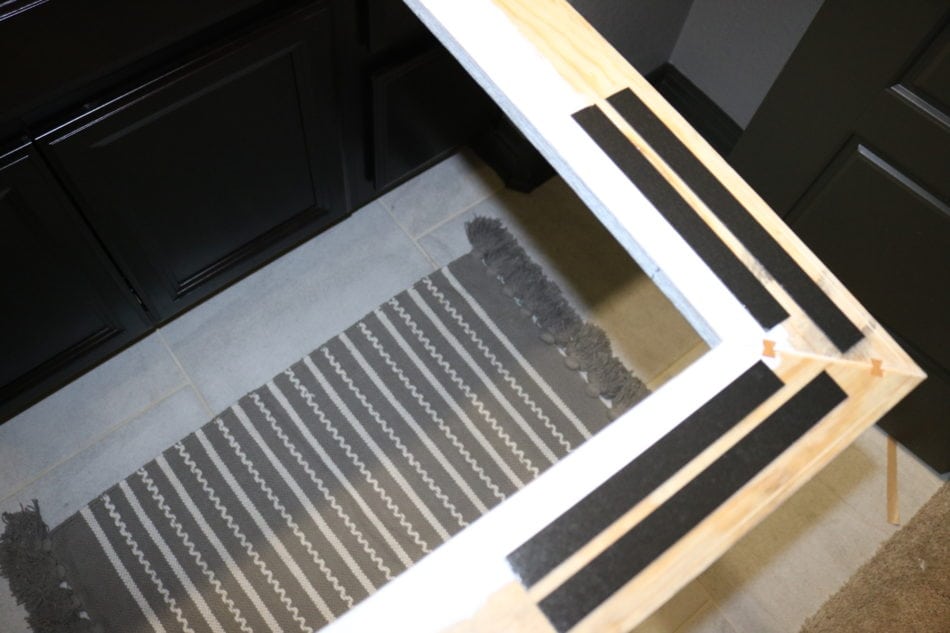
Remove the backing from the sticky strips from all 4 sides, align the corners, and press the frame firmly to your mirror. My mirror isn’t over sized so I was able to do this completely by myself.
Step 5: love your space
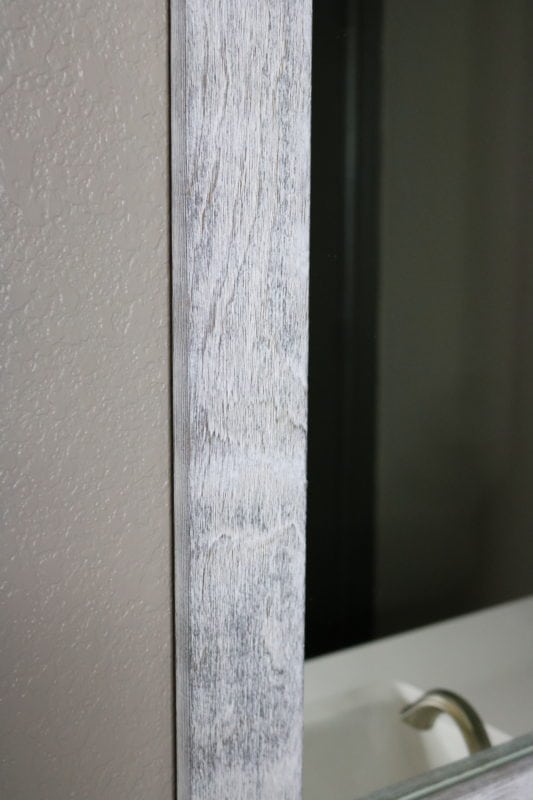
driftwood frame
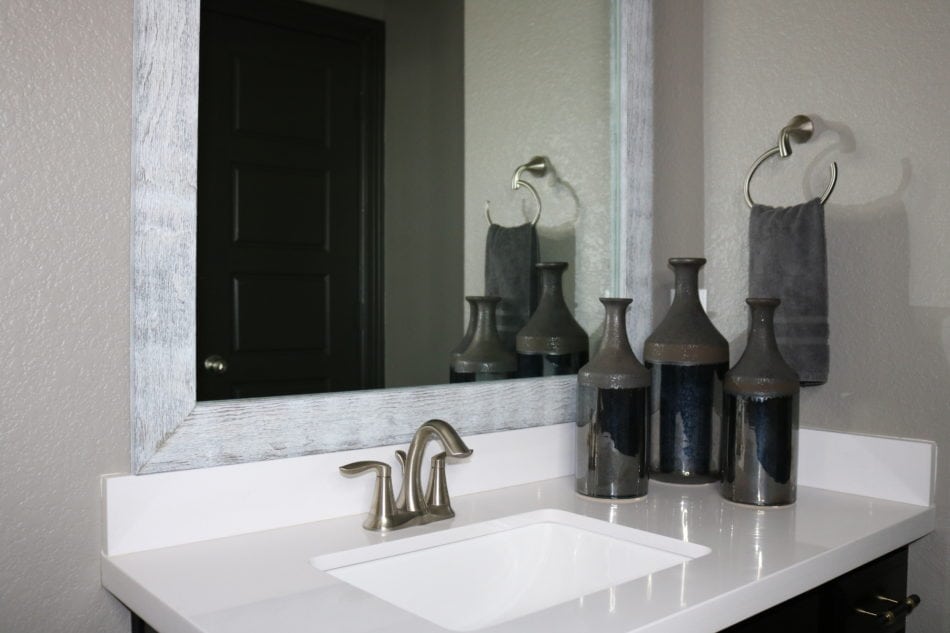
didn’t the frame take this space to another level?
And now for the full reveal! ALL sources are linked on my the Manly Guest Room blog post. Click Here to see the finished project!


